As part of our whole-house remodel that is currently underway, we are working on the common bathrooms: one full bath upstairs that the kids use, one powder room on the main floor, and another full bath in the basement that the guests use.
Guest Basement Bathroom:
 |
| Plan for remodeling existing vanity |
 |
| Elevation design |
I made two linen shower curtains for the shower but haven't gotten very good pictures yet, as we are still waiting for the new shower fixtures to be installed.
I ordered this expensive linen to sew into curtains but when it arrived, it was too brown/wheat colored and I needed a gray undertone. So, after some google research, I dyed it using black beans that I boiled for a long time and then soaked the linen in the black water. Used the beans for tostadas the next day. Cheap, easy, and delicious!
Ironed the hems into the linen while we watched a family movie.


Sewed the hems and then sewed on the antique Irish Lace macrame fringe I bought online.


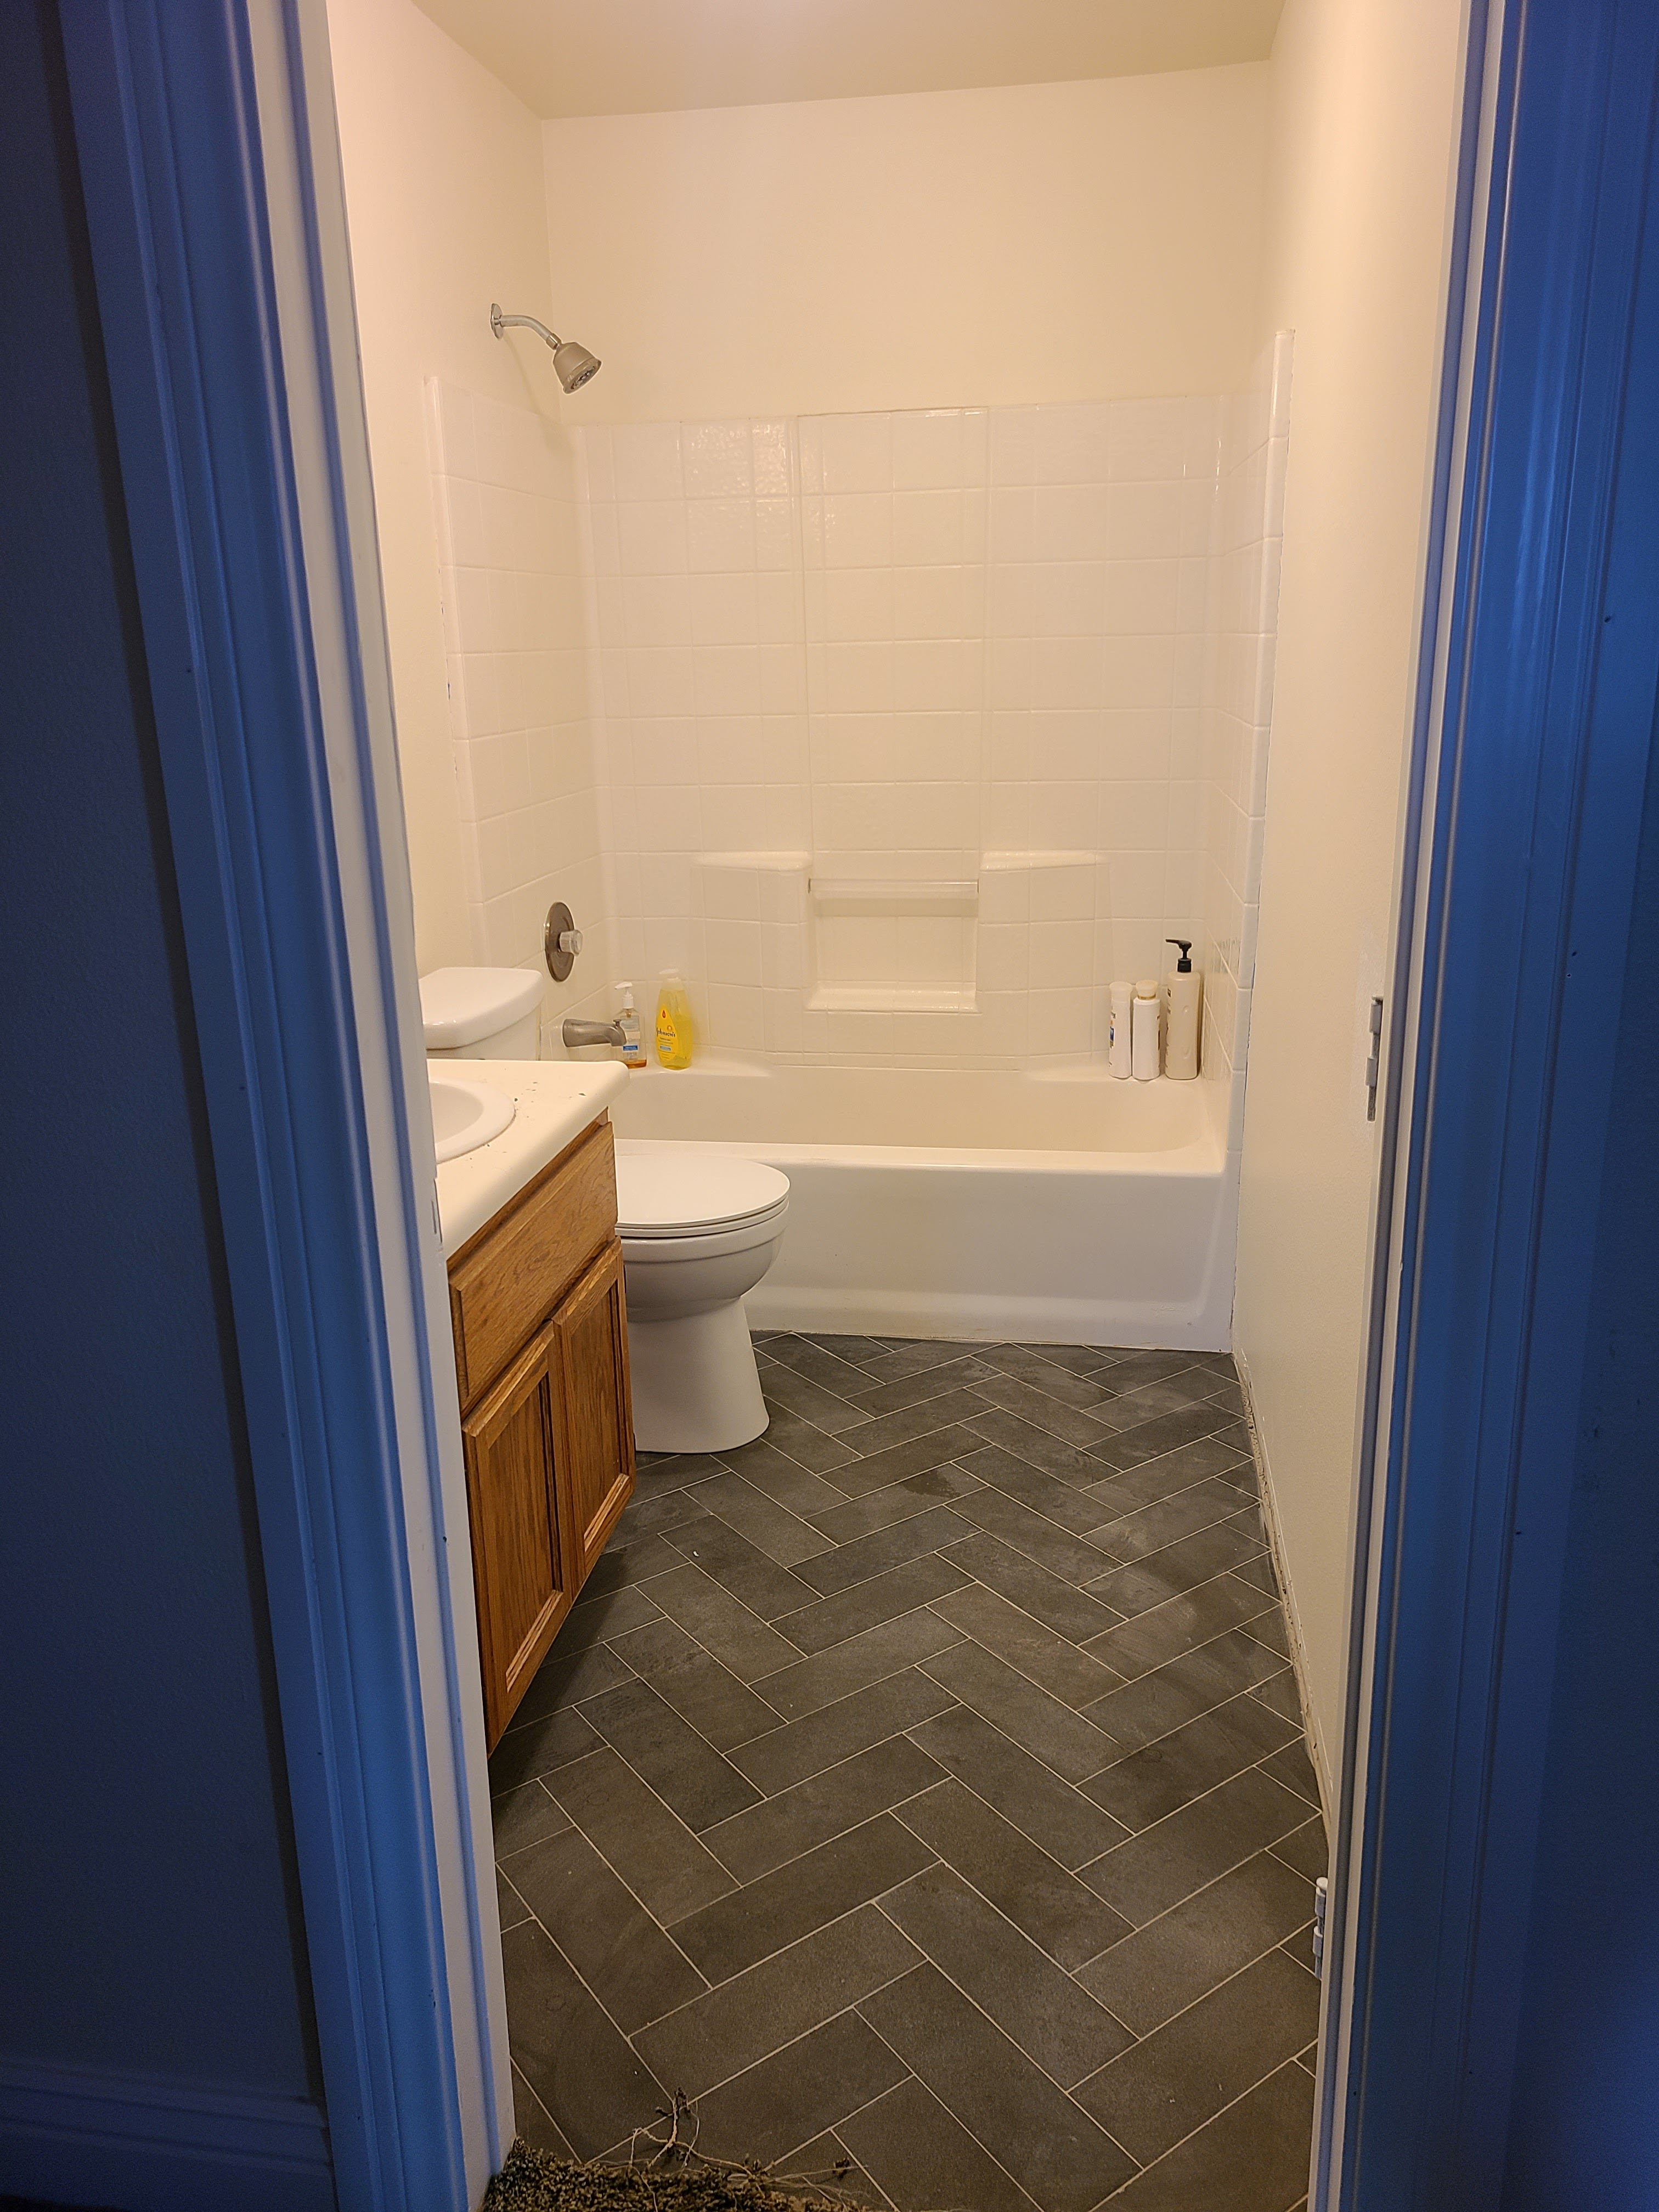
Converted the vanity doors and drawer fronts into inset instead of overlay, rewired the vanity light into two wall sconces, and added GORGEOUS basalt flooring in a nice herringbone pattern (well, had my awesome contractor, Shane, do these things).


Installed this awesome new shower head system as well as the solid brass sconces I built.
Also added tile above the fiberglass surround. I hope to some day refinish the fiberglass surround to brighten and shine it up to better patch the tile.
Basement bathroom is coming along. Added the hardware and base shoe trim to the vanity, began accessorizing with the shelves and hanging plants and curtains.
I love how it is all coming together. Now, all that remains is to replace the countertop and sink/faucet, hang the mirror, and add feet to the vanity. I currently have just over-the-door towel hooks, but I may hang something more permanent on the walls or may hang some vintage artwork. The only other thing that needs to happen is that the shower/tub fiberglass enclosure needs to be resurfaced to match the ceramic tile and hide the scratches in the fiberglass finish.


Vanity area BEFORE
Bathroom BEFORE (After toilet was removed)
Bathroom Before
More pictures to come as we start to wrap up this basement bathroom . . . .
Main Floor Powder Room:
Elevation Designs
Powder Room before
Planning to remodel the existing vanity, relocate vanity light to ceiling, replace countertop, and add lots of natural plants. Stay tuned for pictures along the way.
Quartz for the countertop
Finally decided on a sink: the natural stone one (shown here in the laundry room where I was comparing them). But, sadly it is cracked and the size we need is now out of stock. I haven't decided how to proceed yet. Sigh. Decided on this antique brass faucet. I will weld the brass bird onto it. I have darkened the birds with some rub-n-buff, so they are no longer as shiny as they are in this photo.
Light moved to ceiling. Wall mirrors will be reinstalled to disguise the odd wedge shape of the vanity.

Trimmed down the overlay doors and drawers to make them inset and added hardware. Now, just need to add the base shoe moulding trim and feet to the oak vanity. It will look beautiful with the new countertop and sink. The vessel sink will accommodate for the uncomfortably low height of the vanity.
Finally got around to hanging shelves above the toilet to hold plants and artwork. I couldn't decide what color to make the shelves, so I thought I would just install raw pine boards temporarily, but they look really good, so I may keep them a while and possibly indefinitely. The black brackets look nice too, though I've been considering switching them to antique brass brackets instead, hmmmm.
Finally got the countertop and sink installed. Added a brass bird to the faucet and another to the stone sink. They are so pretty!
Been waiting FOREVER for the glass so to install the mirror glass to bring the bathroom back to life and mask the weird angles of the walls. The bathroom finally had come together.
Still need to add the oak trim to the bottom of the vanity as well as some window trimmings with either a pretty blind or curtain (or both).
Overall, I love how this is coming along. I'm super excited!
Upstairs Kids' Bathroom:
New paint and towel rack
Moved vanity light higher on wall, refinished vanity (Shane did), replaced ceiling and vanity lights, and in the process of replacing wainscot cap moulding.
Pretty new accordion towel rack
Pretty new shower head system
Made the kids a fun new hair-, face-, and body-wash caddie and transplanted the rubber tree into a basket planter to match.
Lots of big changes: removed the water-stained glass shower doors, hung a pretty shower curtain in its place, installed a soap holder above the vanity, and hung corner shelves to hold bath toys and plants.

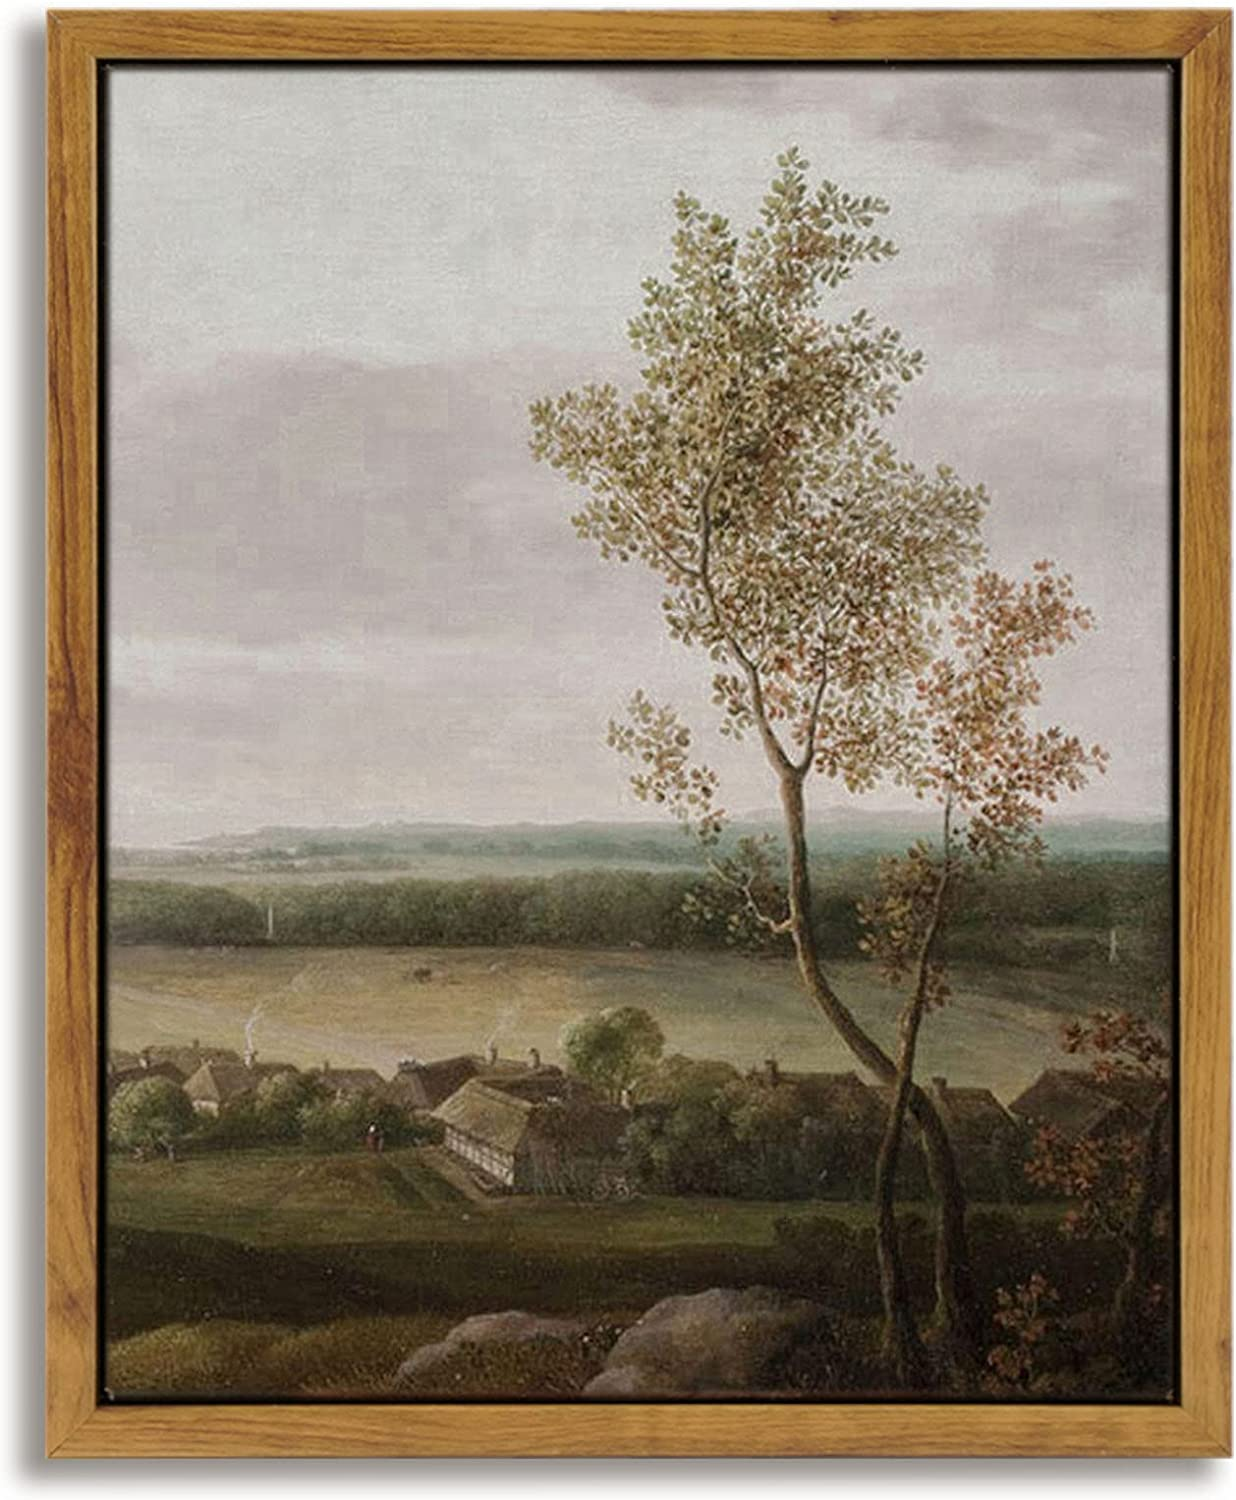
Ordered this vintage artwork to hang in the bathroom
Had this gorgeous painting printed on canvas at our local print shop, Image Pro. It matches everything perfectly, tying all the colors of the bathroom together.
Bathroom BEFORE
Stay tuned for the finished bathroom as we progress . . . .